Introduction
I recently built a couple of Raspberry Pi web cameras. These were my first foray into using the Pi Zero. Here's what they look like assembled (with the top on and off).

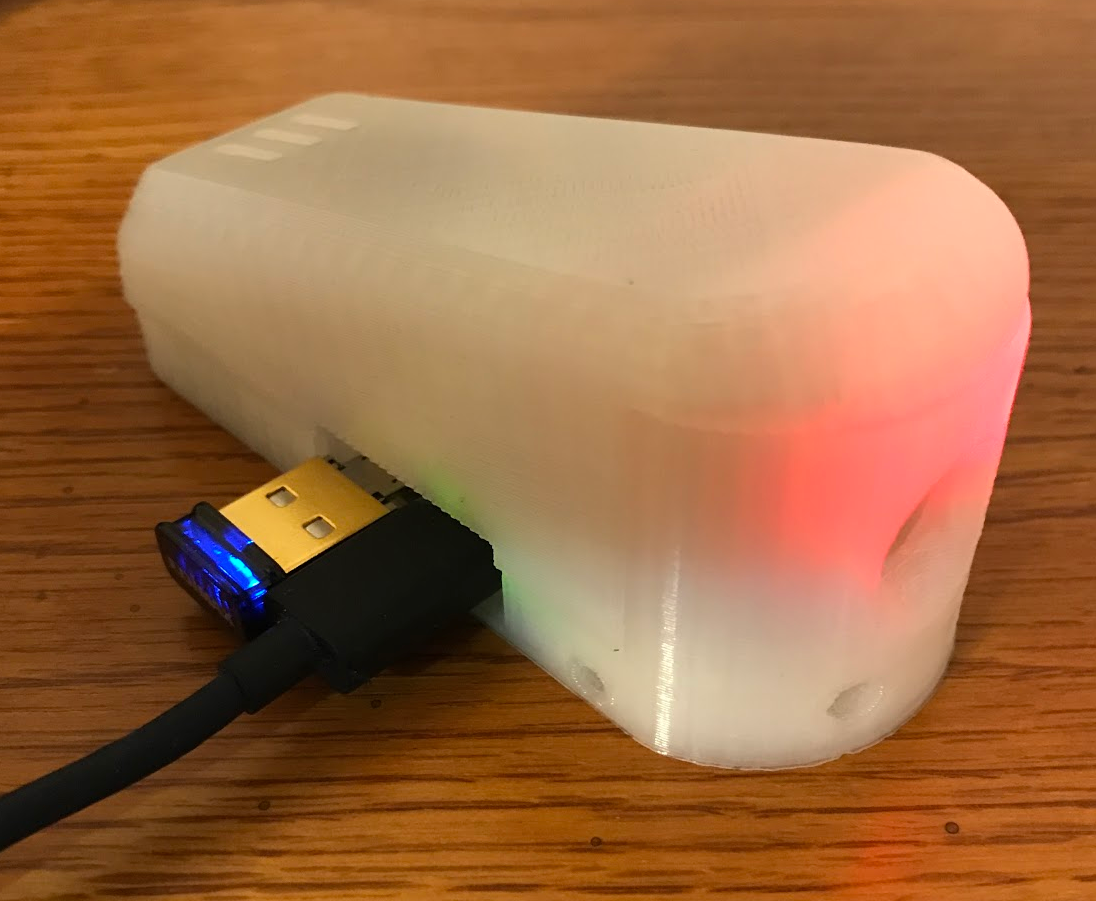
Note that the bright red light is from an older Pi Camera. The new Pi Cameras don't have the bright light.
The Hardware

The hardware is some pretty standard Raspberry Pi components, including the standard camera, the Pi Zero, a wifi adapter and a small MicroUSB-to-USB adapter that lets the Wifi dongle stick close to the device once it's built.
Setting up a Pi Zero is a bit different than setting up other versions of the Pi because it does not come with any network adapters built in. But I was able to configure USB networking using these directions and get wifi configured from there. I was impressed with how powerful the Pi Zero is. I was able to configure X Windows and RDP to it. It ran slow, but I was surprised that it was usable at all.
The case was 3D printed from files found on Thingiverse. I'm going to design a different case eventually that makes the device attach more conveniently to a house window. But for now, this case works quite well.
The Software
I used the RPi-Cam-Web-Interface project to run the software. This software install quite easily and is very flexible. I've noticed that the web interface runs a bit slow, probably because of the processor in the Pi Zero. But it works well enough that it has quickly become a regular part of my home monitoring project.
Comments
Post a Comment